
A common question for cyclists coming to Japan is: Can you take bikes on the train? The answer is yes! This post and supporting video ‘How to take a bike onto the train in Japan‘ are our handy guides on how to take your bike on the train in Japan.
Índice
- Introducción >
- Shinkansen (tren bala) >
- El coche verde >
- La bolsa del tren >
- Cómo utilizar la bolsa de tren >
- Punteros adicionales >
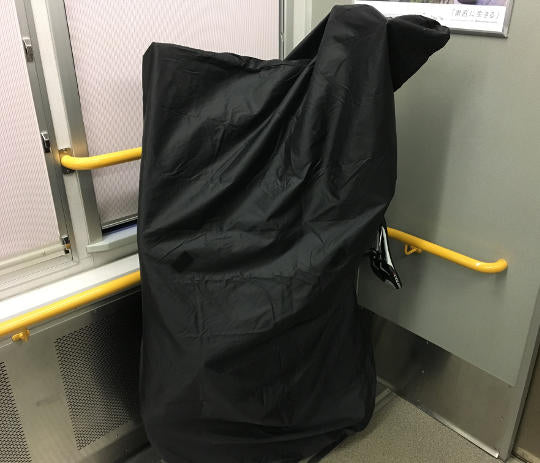
Taking bikes on the train in Japan isn’t as simple as it is for our friends in Europe or North America. To take a bike on the train it needs to be covered completely so essentially it’s just a large bag or a piece of luggage. There is overhead storage on most trains and if you have panniers, a backpack or any other bags, you can free up your hands by putting it above and then trying to get a good spot for your bike.
Shinkansen (tren bala)
It’s also possible to take your bike in the bag on the Shinkansen but there have been a few recent policy changes from JR regarding oversized luggage and it’s a good idea to check the JR Oversized Luggage reservation page for the latest information.
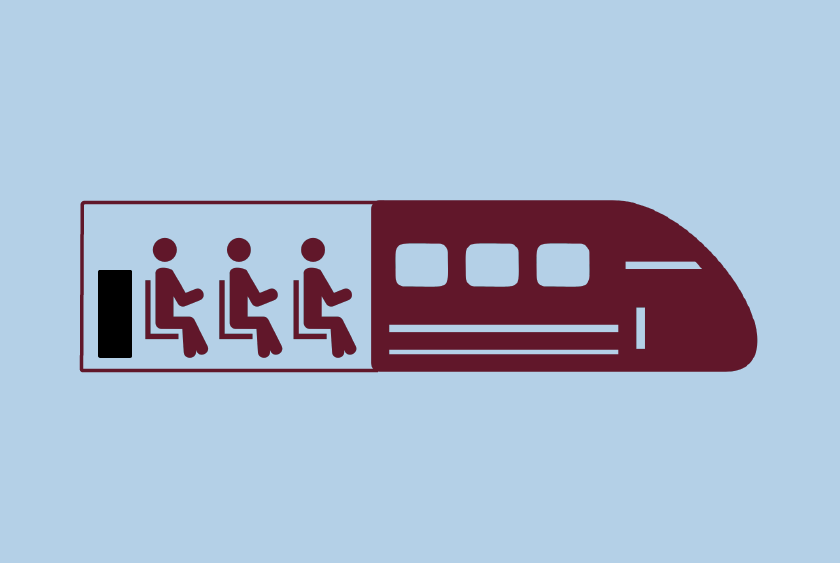
From our own experience of taking a bike of the bullet train, we have always used the space behind the back row that can be found on every carriage. However, this space must be reserved in advanced so it is recommend that you make a plan ahead to ensure you have a space to stow the bike.
One trick is to try and get on the Shinkansen that is starting from your destination. This means that the people at your station will be the first to board and there is more chance of reserving a rear-seat and snagging some storage space. In Japanese this is called ‘starting destination + hatsu’ so if you are going to Hakata from Osaka, I would ask the staff when the next ‘Shin-Osaka hatsu’ is.
El coche verde
The Green Car is the higher class car of the Shinkansen. They are more expensive but every seat has a bit more room and there is more chance to reserve a seat as they are more expensive and not always booked out.
The front seats and the rear seats have extra room for storage in the green car so if you have a larger frame and are worried about finding space on the Shinkansen, you can ask if any front or rear seats are available in the green car.
La bolsa del tren
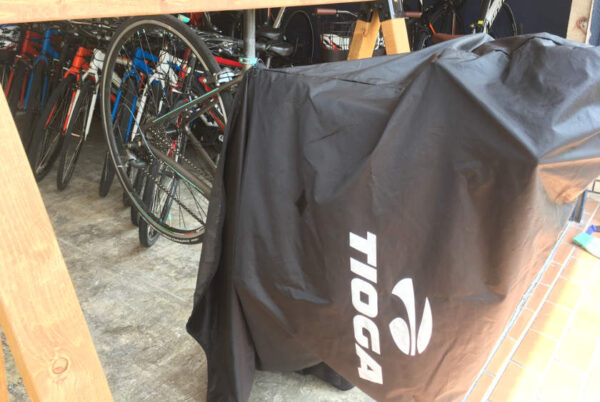
A train bag is a necessity when taking your bike on a train in Japan.
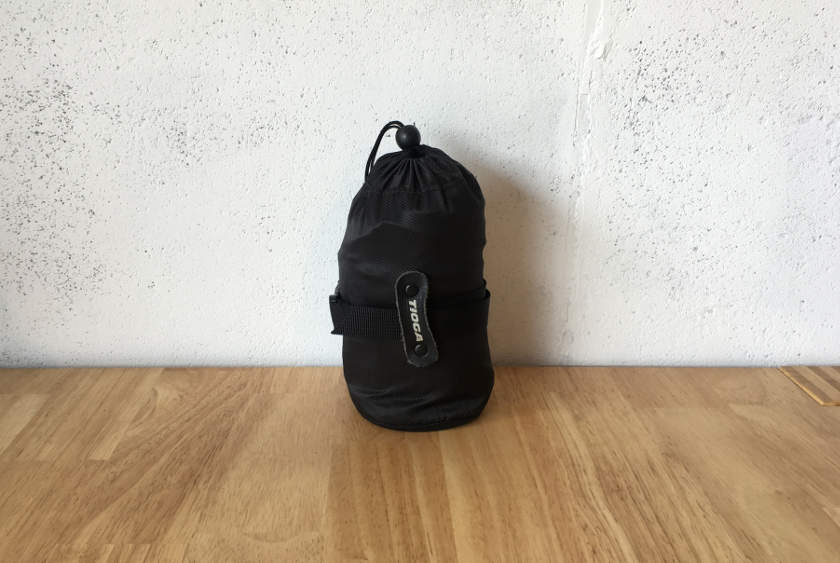
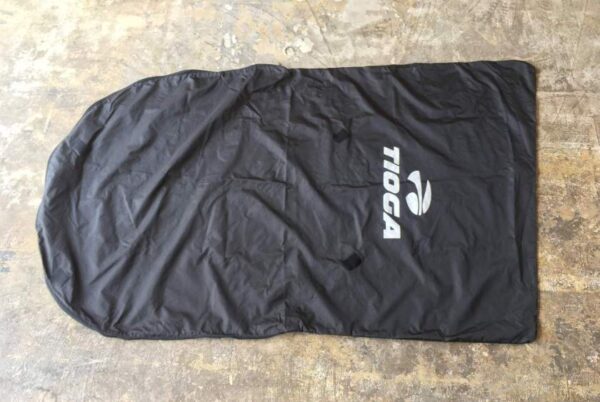
There are a few different kinds of train bags or ‘Rinko bags’. The RBRJ favorite is the Tioga Cocoon bag which we have been using reliably.
The bag rolls up into a small pouch just larger than a water bottle so it’s very compact when not in use.
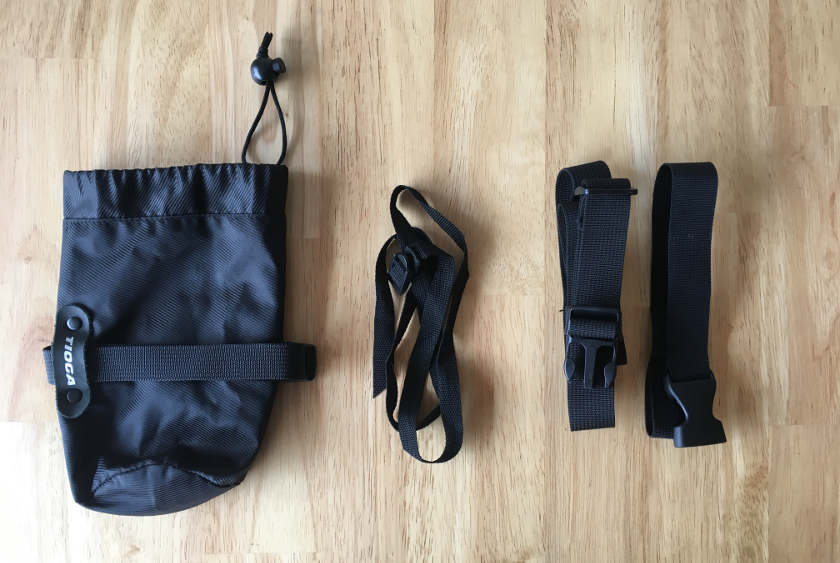
Dentro de la pequeña bolsa de transporte que tiene:
- Bolsa para bicicleta (ver imagen más abajo en el blog)
- Correas pequeñas (en el centro de la imagen inferior)
- Larger shoulder carry straps (two straps – on right in below image)
Instructions on how to put bike in a train bag
Time needed: 10 minutes
It only takes a few minutes to get your bike into a rinko bag. Follow the steps below.
- Quitar la rueda delantera y fijarla al chasis
En primer lugar, desmonte la rueda delantera y coloque el pedal y la biela mirando hacia atrás y paralelos a la vaina.
Then using three of the smaller straps (there are more in the bag but we find three is enough) fix the front wheel around the frame, crank and chain stay area.You should attach the wheel to the left side of the bike (non drive-train side) and you can just tie the straps in bows.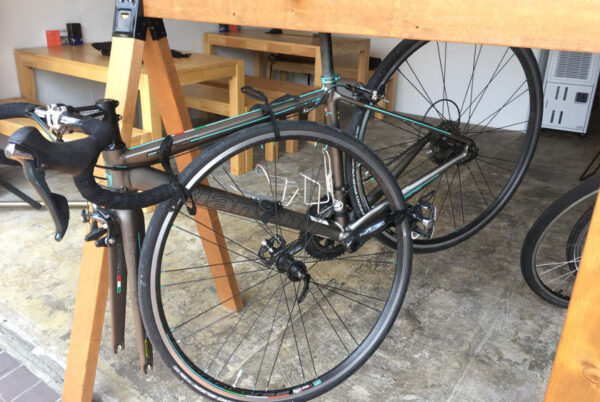
- Prep the bag
En primer lugar, asegúrate de saber cuál es la parte delantera, trasera, superior e inferior de la bolsa. La parte trasera de la bolsa es redonda, ya que es donde se asienta la rueda trasera.
La parte superior de la bolsa tiene un pequeño agujero para poner una correa alrededor de la tija para el manillar. La tija del sillín sobresaldrá entre las dos cremalleras (más información sobre cómo subir la cremallera más abajo).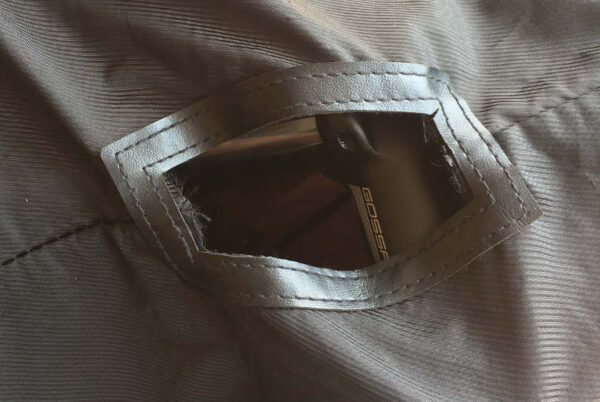
La bolsa se abre y se cierra con dos cremalleras en la parte trasera de la bolsa. Una vez abiertas las cremalleras es hora de meter la moto en la bolsa.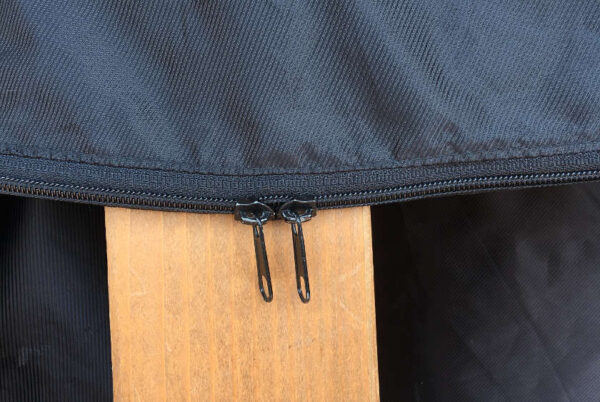
- Put the bike in the bag
Empieza a meter la bicicleta en la bolsa, primero el manillar. El manillar girará hacia un lado a medida que metas más parte de la bicicleta en la bolsa, pero puede que tengas que darles un poco de vueltas.
A medida que maniobras con la bolsa alrededor de la moto, puede haber momentos en los que sea más fácil apoyar la moto sobre la rueda trasera para que la bolsa se mueva y cubra la moto libremente por ambos lados.
Cuando la bicicleta esté bien colocada en la bolsa, podrá cerrar la cremallera inferior alrededor del plato y la rueda trasera.
Cuando hayas terminado, tendrás las dos cremalleras bien ajustadas a ambos lados de la tija del sillín.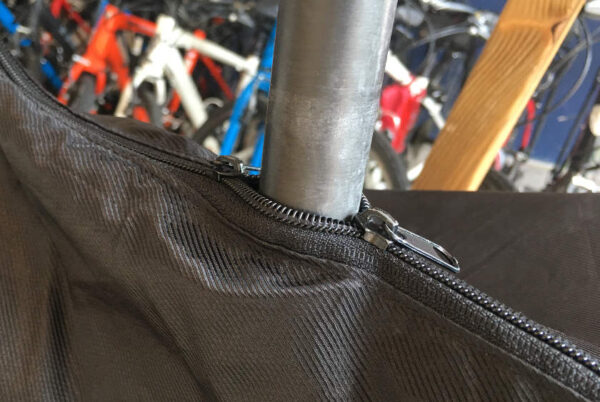
- Using the Shoulder Strap
Si lo desea, puede fijar las correas de hombro para tener la opción de llevar la bicicleta al hombro. Esto es útil cuando tienes las manos ocupadas con alforjas u otras bolsas y necesitas llevar la bicicleta al hombro.
Si no llevas bolsas o llevas mochila, la bandolera no es necesaria. Yo suelo llevar la bici por el sillín con una mano y con la otra introduzco el billete en las taquillas.
Así se pone la bandolera...
Utilice la correa más larga en la tija del sillín y la más corta en la potencia del manillar.
Primero, enrolla el más largo alrededor de la tija del sillín y luego pasa el extremo del clip por el bucle del otro extremo. A continuación, tira de él para apretarlo.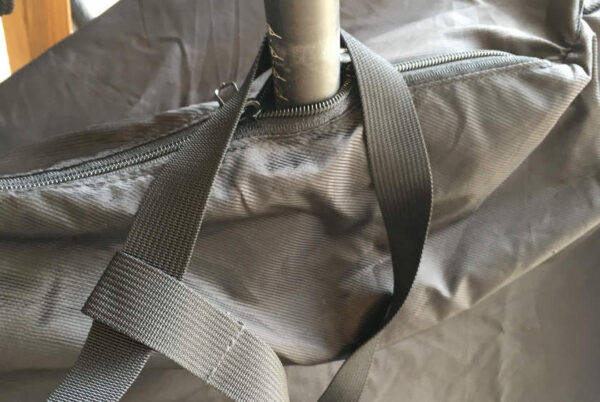
A continuación, enrolla el pequeño alrededor del tallo y pasa el extremo del clip por el bucle del otro extremo. Tira con fuerza.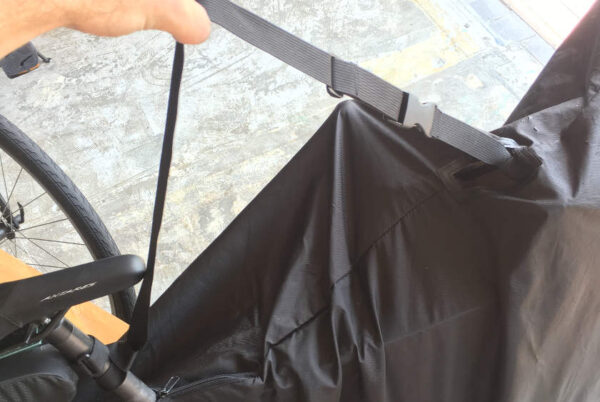
Sujeta los clips y ya tienes tu bandolera. - Nota sobre la tija y el sillín
According to some rules, JR does sometimes state in documents that the seat and seat post must also be covered and not sticking out.
However, from our experience of getting the train, we’ve never been asked to cover the seat when using the train bags.
If by chance staff asks you to cover the seat, simply zip the two zippers above the seat so it’s all covered. Depending on the size of your frame and the height of your seat, you might need to lower the seat a little so be sure to keep your multi-tool within reach just in case.
Eso es todo, ahora debería estar listo para tomar el tren con su bicicleta.
Punteros extra
No te embolses en las narices del personal de la estación
Recomendamos embolsar la bicicleta un poco fuera de la vista del personal de la estación, que suele estar sentado en la cabina cercana a las puertas de venta de billetes.
Aunque está permitido llevar bicicletas en los trenes cuando están cubiertos, es mejor no llamar demasiado la atención ni ser una molestia.
Las estaciones japonesas pueden estar muy concurridas y el objetivo último del personal de estación es asegurarse de que los trenes circulen a su hora con el mínimo alboroto. Por eso, si te colocas en medio de la estación o, peor aún, frente a las puertas de venta de billetes, puedes estorbar a la gente e invitar a que el personal se preocupe o te haga preguntas.
En mi opinión, hacer la maleta y prepararse un poco lejos de las taquillas y comprar el billete con antelación facilita mucho el proceso. Cuando estés listo, camina hasta las puertas, pasa y dirígete al andén.
Evite las horas punta
Si puedes ser flexible con el tiempo, evita las horas punta y disfruta de un poco más de espacio para dejar la bici. Si tienes que coger el tren a una hora punta, organízate e intenta subir en los extremos de los vagones, ya que hay algo más de espacio para la bici y otras bolsas.
Reflexiones finales
Una bolsa rinko puede ser realmente la llave que abra la puerta a muchas grandes aventuras ciclistas en lugares remotos de Japón.
Hay momentos en los que el tren está ocupado, o tienes que dar un largo paseo con la bici y las maletas por la estación hasta los distintos andenes, pero aguanta y piensa en cómo te sentirás cuando vuelvas a la bici con el viento en el pelo.